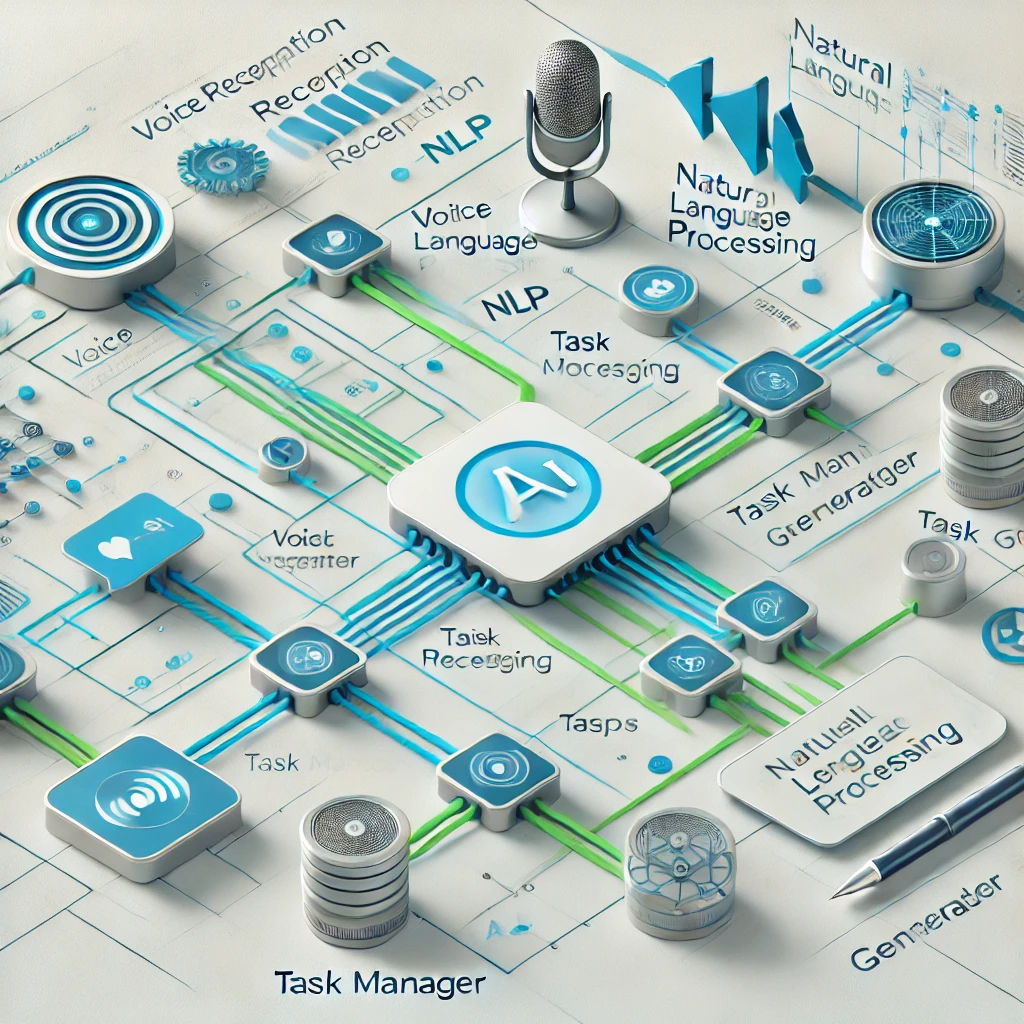
In today’s fast-paced world, having an AI assistant can help automate routine tasks, enhance productivity, and even provide insights on daily habits. This guide walks you through the steps to create your own AI assistant using open-source tools. Whether you want it to handle reminders, manage your calendar, or control smart devices, building a personal AI assistant is simpler than you might think.
Table of Contents:
- What is an AI Assistant?
- Tools and Technologies Needed
- Step-by-Step Guide to Building an AI Assistant
- Defining Your AI Assistant’s Purpose
- Setting Up Python for AI Development
- Integrating NLP with Speech Recognition
- Building the Conversation Logic
- Adding Task Management Features
- Testing and Debugging Your AI Assistant
- Future Enhancements and Applications
- Conclusion
What is an AI Assistant?
An AI assistant is a software agent that can perform tasks or services for an individual based on commands or questions. Examples include Apple’s Siri, Google Assistant, and Amazon’s Alexa. While creating an assistant as powerful as these commercial solutions may seem daunting, it’s possible to build a simplified version for personal use with open-source tools.
Tools and Technologies Needed
To build a basic AI assistant, you’ll need the following technologies:
- Python – The most popular programming language for AI development.
- SpeechRecognition Library – For converting speech to text.
- Google Text-to-Speech (gTTS) – To convert text back into speech.
- Natural Language Toolkit (NLTK) – For natural language processing (NLP).
- Pyttsx3 – A text-to-speech conversion library.
- Task Scheduler or Google Calendar API – To manage tasks and reminders.
Step-by-Step Guide to Building an AI Assistant
1. Defining Your AI Assistant’s Purpose
Before diving into the code, decide what tasks your AI assistant will perform. Here are a few ideas:
- Task Manager: Scheduling events, setting reminders, and creating to-do lists.
- Voice Commands: Executing commands like “Open browser” or “Check the weather.”
- Information Provider: Answering questions using web APIs like Wikipedia or Google.
Tip: Start simple. Focus on one function, such as task management, before adding more features.
2. Setting Up Python for AI Development
To begin, install Python if you haven’t already. You can download it from python.org. Then, install the necessary libraries:
bashCopy codepip install SpeechRecognition gTTS Pyttsx3 NLTK
These libraries will handle speech recognition, text-to-speech conversion, and natural language processing.
3. Integrating NLP with Speech Recognition
Next, you’ll write code to convert speech into text. Use the SpeechRecognition library to capture audio input from your microphone and then process it using Google’s speech-to-text engine.
pythonCopy codeimport speech_recognition as sr

def recognize_speech():
    recognizer = sr.Recognizer()
    with sr.Microphone() as source:
        print("Listening...")
        audio = recognizer.listen(source)
        try:
            text = recognizer.recognize_google(audio)
            print(f"You said: {text}")
            return text
        except sr.UnknownValueError:
            print("Sorry, I could not understand the audio.")
Once you capture the user’s voice command, it will be converted to text and displayed on the console.
4. Building the Conversation Logic
Now, you’ll need to give your AI the ability to understand what the user is asking and respond accordingly. Using the NLTK library, you can process and categorize different commands:
pythonCopy codeimport nltk

def process_command(command):
    if "reminder" in command or "schedule" in command:
        return "Do you want to set a reminder?"
    elif "weather" in command:
        return "Fetching the weather report..."
    else:
        return "I'm not sure how to respond to that."
By analyzing keywords like “reminder” or “weather,” the assistant can tailor its response.
5. Adding Task Management Features
One practical use of an AI assistant is managing daily tasks. You can integrate APIs like Google Calendar to schedule events or use Python’s schedule library to create simple reminders.
pythonCopy codeimport pyttsx3

def speak(text):
    engine = pyttsx3.init()
    engine.say(text)
    engine.runAndWait()

def create_reminder(task, time):
    speak(f"Reminder set for {task} at {time}")
In this example, the assistant can confirm reminders and announce them using text-to-speech.
Testing and Debugging Your AI Assistant
Before deploying your AI assistant, thoroughly test it to ensure that speech recognition, task management, and response logic work as intended. Pay special attention to speech recognition accuracy in different environments and accents.
Pro Tip: Debugging AI assistants often requires refining the NLP models or adjusting microphone sensitivity.
Future Enhancements and Applications
Once your AI assistant is functional, you can expand its capabilities:
- Smart Home Integration: Connect with smart home devices like lights and thermostats.
- Web Scraping: Use APIs to fetch real-time data, like stock prices or news headlines.
- Learning Abilities: Implement machine learning algorithms to improve responses based on previous interactions.
The possibilities are vast, and with AI technology evolving rapidly, there’s no limit to how much you can build on your assistant.
Conclusion
Building your personal AI assistant is an exciting project that combines various elements of artificial intelligence, from speech recognition to natural language processing. By following this guide, you now have the foundation to create a simple yet functional AI assistant that can handle your daily tasks. As you continue to improve and add features, your assistant will become even more powerful.
Whether you’re building a basic task scheduler or developing an AI that controls smart home devices, this journey introduces you to the ever-growing world of AI development. So, why wait? Start building your personal AI assistant today and experience the convenience of having your very own virtual helper.

